Pudding Pops Recipe – Easy Layered Red White and Blue Frozen Dessert
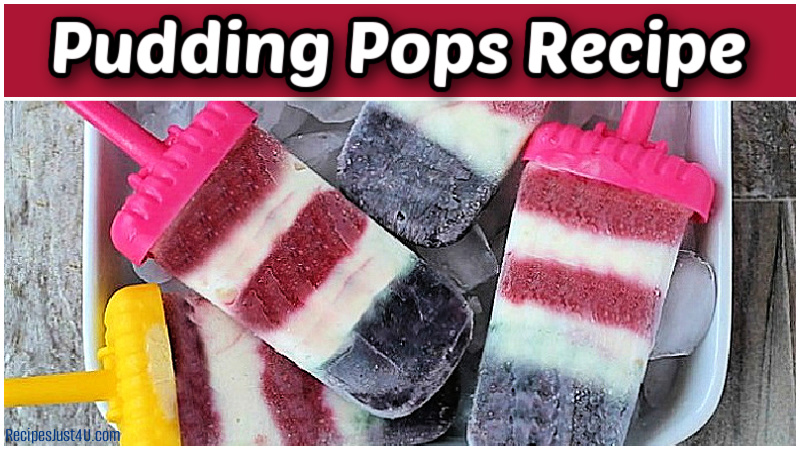
This pudding pops recipe creates creamy, homemade frozen treats with colorful red, white, and blue layers, perfect for summer entertaining. These layered pudding pops are easy to prepare ahead of time and make a fun dessert for Memorial Day, the 4th of July, or any warm-weather gathering.
Unlike traditional juice popsicles, pudding pops freeze into a smooth, creamy texture that feels more like a frozen dessert than an ice pop. The layered colors give them a festive look without adding much extra work.
If you’ve never made homemade pudding pops before, this recipe includes simple steps and a few easy tips to help you create neat layers and release the pops cleanly from the molds.
Some of the links below are affiliate links. I earn a small commission, at no additional cost to you, if you purchase through an affiliate link.
Ingredients for the pudding pops recipe
To make these layered pudding pops, you’ll need the following ingredients:
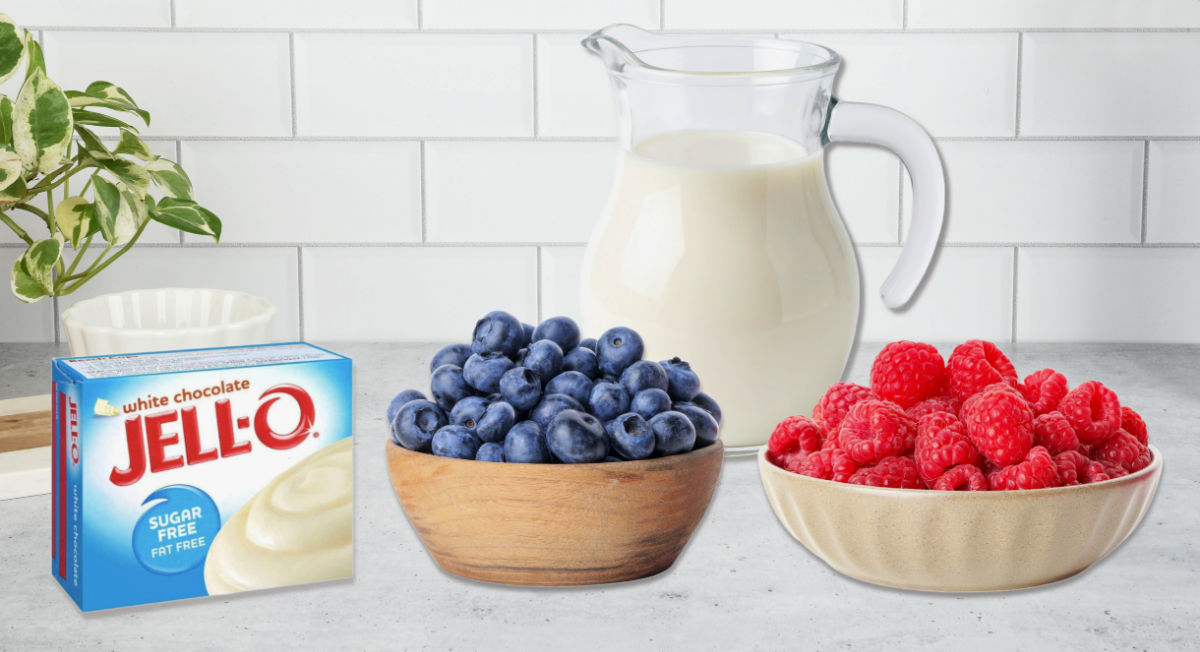
- 2 cups of fresh raspberries
- 2 cups of fresh blueberries
- 2 packages of Instant White Chocolate Jell-O Pudding (3.3 ounces each)
- 4 cups of skim milk plus extra milk to thin the pudding and fruit purees a bit.
- Optional: a few drops of blue gel food coloring
You’ll also need some icing bags and a set of popsicle molds.

How to make layered pudding pops
The colors of the pudding pops are made using layers of creamy instant pudding, and raspberry and blueberry pureé.

Blend the fruit first
- Using a food processor or blender, pureé the raspberries until they are smooth and set them aside.
- Rinse out the food processor and do the same with the blueberries.
- If your blueberry pureé color is too purple, you can add 1-2 drops of blue gel food coloring to darken it.
Tip: Add a bit of extra skim milk to each of the raspberry and blueberry pureés so that they will have a fairly thin consistency. This helps to make even stripes.

Make the pudding
I used a white chocolate fat-free, sugar-free pudding mix and skim milk to keep the calories light for this sweet treat.
- Combine the pudding mix with skim milk.
- Whisk to combine.
- Add extra skim milk to make a very soft consistency, easy to make into layers.
- Put the pudding mix and each of the berry pureés into icing bags.
Tip: Icing bags make it really easy to create layers without creating a mess in the molds and the popsicles by trying to pour the pureés into the molds.
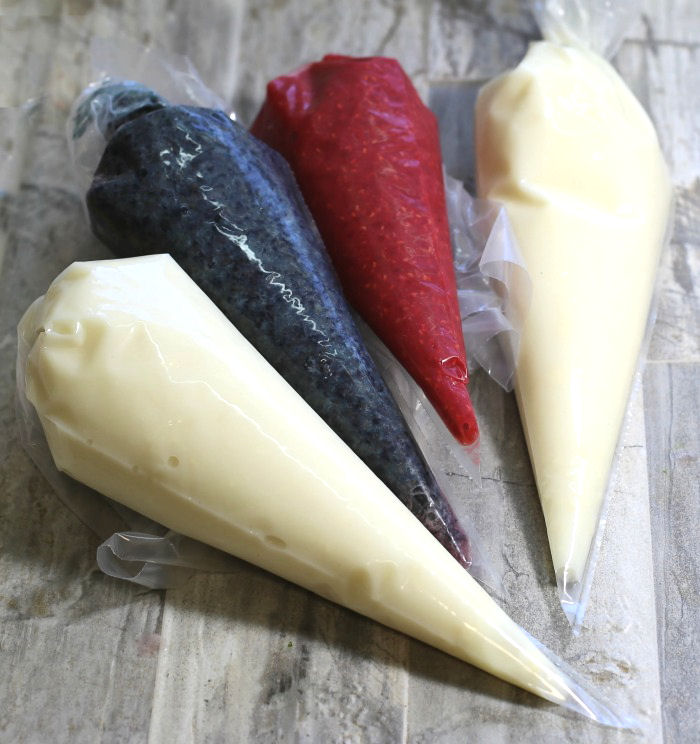
Making the pudding pops
The layers are frozen between each row to make nice, straight stripes. The fruit pureé will likely have some pulp in it if you use a food processor, so you’ll need to snip off a good-sized end hole for the mixture to come out easily.

- Pipe a thick layer of the blueberry puree into the bottom of each Popsicle mold.
- It needs to be wider than the other layers to give the pudding pops a “flag” look when they are done.

- Freeze for 20 minutes to allow this layer to set.
- Add a layer of pudding next and freeze for 20 minutes.
- Add a layer of raspberry pureé and freeze for 20 minutes.

Finish making layers
- Repeat the pudding and raspberry layers for the “stripes”.
- Add the popsicle mold tops with sticks,
- Place them in the freezer and freeze till firm.
How to unmold the pudding pops
- To unmold your individual pops, let hot water run over the outside of the mold.
- To unmold the whole unit, fill a pan that is at least as tall as your mold with warm water.
- Don’t use hot water for this method, or the pops will start to melt.
- Dip the mold into the water for about 20-30 seconds until it loosens all the pudding pops.
After you unmold the pudding pops, you can eat them right away, or wrap them in ziplock bags and store them in airtight containers to freeze, so that you have the molds ready for another recipe.
The second freeze also helps them to keep their shape a bit better, so they won’t melt too quickly as you eat them.

Flavor of these pudding pops
These red, white, and blueberry pops have a creamy taste with a tart fruit finish that is delightful. They are fresh and bright and the perfect way to cool down on a hot summer day.
Well-wrapped pudding pops will keep for 3-4 weeks in the freezer before they start to lose their flavor.
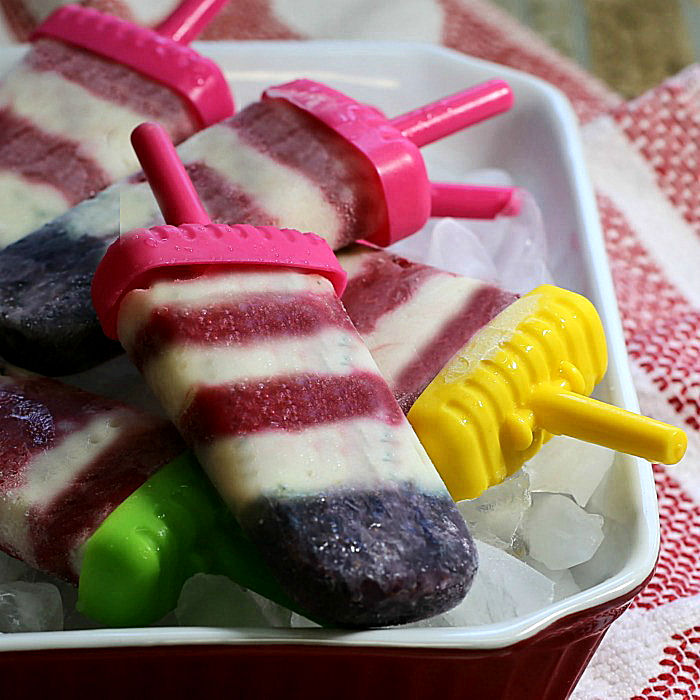
Tips for making these pudding pops
I have a whole post written on tips for making popsicles, and pudding pops use some of the same techniques.
- Gather all of your ingredients and set up the molds before you start making the pops. Instant pudding sets quickly.
- Keep a folded paper towel handy to use to tidy up the insides of the molds in case you make mistakes.
- Be sure to thin both the puree and the pudding so the layers are easy to pipe.
- For the most even stripes, ensure all your ingredients and molds are very cold before you start the layers.
- Leave a bit of extra room on top of the mixture so that it will not overflow when the pudding mix freezes and expands.
- Freezing between each layer gives you the most even stripes, but this will take longer to do, of course.
- I used a traditional Popsicle mold, but any frozen dessert mold will do. A mold with a see-through outside will make it easy to check your progress on the layers.
- Be sure to freeze the pops completely. Pudding pops can take up to five hours to freeze. The fruit pureé layers will have a Popsicle-like texture, but the pudding layers will be smoother and creamier.
Fun fact about pudding pops
If you enjoy food history as much as I do, pudding pops have an interesting story. They were originally sold by Jell-O and became well known through their “Puddin’ Pops” advertising years ago. They later disappeared from stores and briefly returned in a different form before being discontinued again.
That may explain why homemade pudding pops still feel nostalgic to so many people, and making them at home means you can create fun versions like these layered red, white, and blue pops.
More frozen dessert recipes
Looking for other frozen desserts to serve this summer? Try one of these:
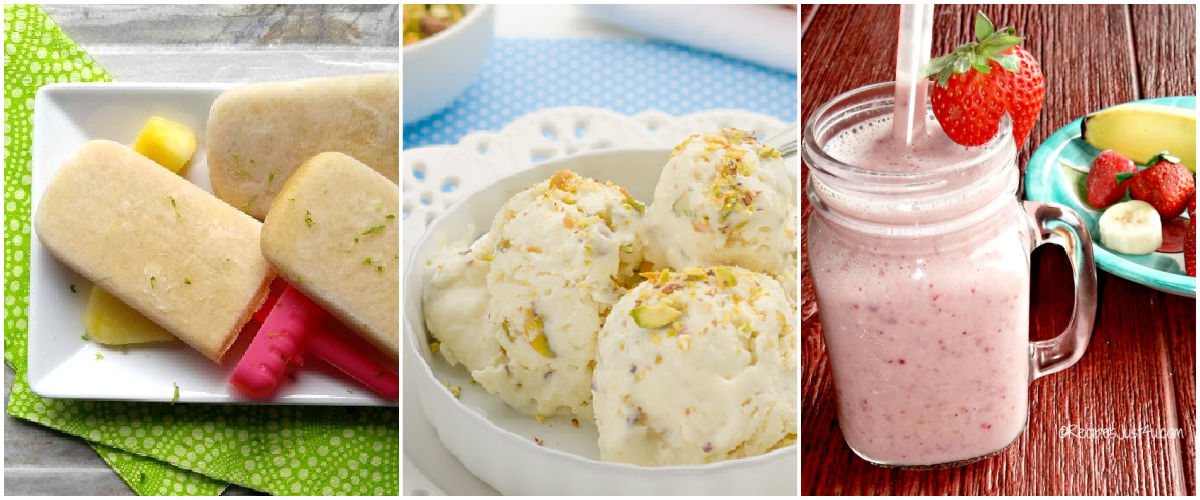
- Pina Colada Popsicles – These have a hint of rum and coconut flavor.
- Coconut Pistachio Ice Cream Recipe – Easy no-churn frozen dessert.
- Strawberry Banana Smoothie – Made with almond milk.

Share this patriotic pudding pops recipe on X
If you enjoyed making these layered pudding pops, why not share this recipe with a friend?
🍦✨ These Pudding Pops are the ultimate creamy frozen treat for summer! Layers of red, white & blue fruit and pudding make them perfect for 4th of July, Memorial Day, or any sunny day celebration💙❤️ Easy to make, fun to eat, and… Share on XPin this pudding pops recipe
Would you like a reminder of this recipe for layered pudding pops? Pin this image to one of your dessert boards on Pinterest so that you can easily find it later.
Admin note: This pudding pops recipe first appeared on the blog in June 2018. This post has been updated with new photos, a printable recipe card, and a slideshow video about making a summer dessert table.
Pudding Pops Recipe
Creamy homemade pudding pops with festive red, white, and blue layers. This easy frozen dessert recipe is perfect for summer celebrations.
Ingredients
- 2 cups of fresh raspberries
- 2 cups of fresh blueberries
- 2 packages of Fat-Free and Sugar-Free Instant White Chocolate Jell-O Pudding (3.3 ounces each)
- 4 cups of skim milk, plus extra milk to thin the pudding and fruit purees a bit.
- Optional: a few drops of blue gel food coloring
Instructions
- Using a food processor or blender, puree the raspberries until they are smooth and set them aside.
- Rinse out the food processor and do the same with the blueberries.
- If your blueberry puree is too light, you can add 1-2 drops of blue gel food coloring to darken it.
- Combine the pudding mix with skim milk.
- Add a bit of extra skim milk to each of the purees and to the pudding so that they will be a fairly thin consistency. This helps to make even stripes.
- Put the pudding mix and each of the berry purees into icing bags to make it easy to pour into the molds. Freezing between each layer takes extra time but gives a tidier look.
- To layer the pudding pops, start by pouring a thick layer of the blueberry puree into the bottom of each Popsicle mold.
- Freeze for about 20 minutes to allow this layer to set.
- Continue adding layers, alternating between white and red layers.
- Add the tops and sticks to the molds and place them in the freezer.
- Freeze till firm.
- Don't worry if the stripes are a bit uneven. A rustic look is fine.
- Once frozen, unmold your pops by running the outside of the mold under hot water.
Notes
Thinning out both the fruit mixture and the pudding will help you to get even layers for your pops. It is very hard to do this if your mixtures are too thick. They will freeze later even if thinned out.
Recommended Products
As an Amazon Associate and member of other affiliate programs, I earn from qualifying purchases but the price is the same for you.
-
 Azzuro Piping Bags Disposable 16 Inch, 100PCS Extra Thick Pastry Icing Piping Bags for Cake & Cookie, Non-Slip Anti-Burst Cake Frosting Decorating Bags Easy to Squeeze
 -
 Royal Blue Liqua-Gel® Food Coloring | Vibrant Color | Professional-Grade Dye for Icing, Frosting | Baking & Decorating | Fade-Resistant
 -
 Popsicle Molds, 12 Reusable Ice Pop Molds with Stand, Collapsible Funnel and Cleaning Brush, BPA-Free Popsicle Maker for Homemade Fruit Pops, Pudding Pops and Frozen Snacks
Nutrition Information:
Yield:
12Serving Size:
1Amount Per Serving: Calories: 105Total Fat: 5gSaturated Fat: 3gUnsaturated Fat: 2gCholesterol: 5mgSodium: 46mgCarbohydrates: 12gFiber: 0gSugar: 13gProtein: 4g
Nutritional information is approximate due to natural variation in ingredients and the cook-at-home nature of our meals.